Saturday, August 18, 2012

Homemade Mozzarella

I'm not sure if you know this, but cheese is awesome.  Can you imagine a world without cheese?  Whoa, now, don't actually imagine the world without cheese.  Sounds nightmarish.

Cheesemaking is an art beyond most of our means and capabilities, mine included.  But mozzarella is the one type of cheese that  just about any body who knows their way around a kitchen can make.  It can also be more cost effective for those who use it on a regular basis.  You can make one batch of homemade mozzarella for about $5; to buy the same amount in the store you'd have to shell out $10-15.

I have included both an ingredient and hardware list for this recipe.  This one takes quite a few instruments, so be sure to read through this a few times and gather supplies before you start.  Some ingredients, such as the citric acid and rennet, may be hard to come by in your area.  Try the local health food store, but I ended up ordering online.


You will need:

Ingredients:
1 gallon whole milk
1 ½ tsp citric acid
¼ tsp rennet
1 tsp salt

Equipment:
Large pot with lid – enough for 1 gallon plus a few inches to allow for stirring
Cooking thermometer
Slotted spoon
Long knife
Colander or strainer with a fine mesh (preferred) or cheesecloth
Microwave
Microwave safe bowl
Large bowl filled with ice water

Start by dissolving the citric acid and rennet.  In ½ cup cool water, dissolve citric acid.  In ¼ cup water, dissolve the rennet.  Stir to make sure to make sure all particles are evenly distributed.

Pictured: not a homogeneous solution.  Keep stirring. 

Pour milk into the large pot.  With the slotted spoon, slowly stir in dissolved citric acid.  Over a low-medium heat, slowly heat the milk to 90 F.  Remove from heat and gently stir in dissolved rennet for about 30 seconds.   Put on lid and let sit for at least 30 minutes.


After 30 minutes, check on the curd.  The curds should have separated from the whey, with the curd forming on top into a thick custard consistency and the whey settling underneath in the form of a clear, yellowish liquid.   If the curd is more like watery cottage cheese, let it sit a little longer. 

The curd will break up once you start stirring.

Using a long knife, cut the curd into 1 inch chunks, forming a grid.  Over a low-medium heat, slowly stir the curd with the slotted spoon.   Heat to 105 F, remove from heat, and slowly stir for another 5 minutes.

At this point, your friend's Garfield-esque cat will wander into the kitchen.  Don't worry; he just wants attention.  Give him some and then shoo him away from the kitchen so you don't accidentally step on him in the following steps.

 I just want loves!  And maybe some lasagna.

Drain curds and whey into the fine meshed colander or colander lined with cheesecloth.  Remove as much of the liquid whey as possible.  A fine meshed colander is preferred over the cheesecloth as less curd will be lost in the draining process.

It's going to smell a little...funky.

In a microwave safe bowl, heat the curds for 1 minute on high.  Drain off the whey again as more will form.  Knead in salt.  Heat the curd again for 30 seconds.  Drain any more fluid.


Turn out onto a flat surface and knead.  The curd will be hot at first, so start with caution.  Knead until stretchy and shiny. 

Form into desired shape (large ball or log, smaller balls, etc.).  Place into ice water for at least 30 minutes.  This helps the mozzarella keep its shape and shiny look.  Let dry and wrap in cling film.  Keep refrigerated.  Should stay good for about two weeks.


This batch came out a little lumpy, but was still delicious. 

This mozzarella is excellent in salads, on pizza, or as part of a snack.  It does not shred very well, so keep that in mind.  You can also add other ingredients, such as basil or minced garlic, to make it more flavorful.  If you want to try this, add some along with the salt.

- The Pink One

Sunday, July 29, 2012

Peppermint Tea

Let's face it.  It's been a really freaking hot summer.  Too hot for coffee, but I still need my caffeine.  And sometimes iced coffee is way too much work.  I typically turn to iced tea in the summer, because I can make it by the pitcher and it takes minimal effort.  Adding a bit of peppermint makes this summer classic extra refreshing.


You will need:

3-4 cups water, brought to boil and slightly cooled
3-4 black tea bags
1 peppermint tea bag
1 pitcher approx. 3 quarts

Place tea bags into the pitcher.  Slowly pour in boiled water.  Let steep for approximately 20 minutes.  Remove tea bags.  Fill pitcher the rest of the way with water and ice.  Keep in the refrigerator.

It's that easy.  Enjoy this cooling summer treat!

- The Pink One

Saturday, July 7, 2012

Keep Calm

There is more to surviving graduate school than making yummy food and fighting off bats.  The yummy good helps brings friends together and make the bad days bearable.  And the fighting of bats makes for a great tale to make your cohort laugh the next day.  But there will always be situations, in grad school and out in the real world, that come without warning.  Situations like this:


Last week, somebody broke into my car.  Now, in the grand scheme of sudden, unwanted situations, this rates about a 6 out of 10 on my personal scale.  High enough to cause you monetary problems and take time out of your week, but no where near a death.

It probably helped that I had a friend with  me the whole time, helping me take care of things, like finding the non-emergency police number and a repair shop, while I cleaned up.  But I felt surprisingly calm the whole time.  No real feelings of anger, no need to cry, just a need to get it taken care of quickly so I could return to life as usual.

Keeping calm is probably one of the best pieces of advice you can ever try to live by.  Panicking, crying, throwing a tantrum; none of it would have gotten me anywhere.  It rarely does.  Keeping a cool head, planning my next move, and surrounding myself with people who know what they're doing gets my way further.

So it sucked, but I got to move on to the fun part much quicker.  You know, the part when you get to tell all your friends about how your car got broken in to and all the asshole took was the power cord to your GPS.  But left the actual GPS on and by the seat.  Or how the neighbor gave advice so unhelpful you thought he was quoting Captain Hindsight from South Park.  Or write a blog about what a great teaching moment it was....

- The Pink One


Friday, May 18, 2012

The Battle of the Bat

It's finally summer time in this college town.  A lighter course-load, plenty of sunshine, and day-drinking has become much more socially acceptable.  And all the undergrads are gone.  But something else has taken their place.  Nature.  Freaking Nature.  How did I know this invasion was occurring?  I found a bat in our kitchen the other night.  A fraking bat!  I was too busy freaking out and running away to take a picture, but it looked something like this:

But larger.  And with much bigger fangs.

So I did what any other grown woman in my situation would have done.  Screamed like a little girl, ran back to my room, and and slammed the door shut in case he was following me.  After my moment of panic I formulated my plan of attach.  Call for The Sleepy One's help.  He happened to be staying over for the night and surely I could appeal to his sense of masculine pride to protect us from the vicious demon-spawn camped out on the kitchen counter.  But alas, The Sleepy One was already asleep.  Go figure.  But so was The Olive One and The Yellow One wasn't home.

I was on my own.

What was I to do?  No way was I just going to let that thing fly around The Guv'nah all night, eating our clementines, pooping on our dinning room table, going through our DVDs. Action had to be taken.  So I grab my spare blanket, cover my head and neck, and slowly walk backing into the dinning room.  I turn on the light, ready to duck and cover, but the little bastard is no where to be seen. I slowly creep into the room and peak into the kitchen.  Still no sign.  I turn around and OMG IT'S HANGING FROM THE BASEMENT DOOR-FRAME!  

Before now, I never thought I'd be this afraid of bats.  That whole bit from Batman Begins where Bruce Wayne is all "I want a symbol that will strike fear in the hearts of my enemies" always gave me a laugh because of all the fearsome creatures you could pick, you chose a small, squeaky, flying rat.  Really?  But after seeing one up close and swooping around our kitchen, I have to give it up to Wayne.  Well done.

While I'm having my second freak-out, Batty is calming hanging upside down from the door-frame, plotting his revenge for those who have disturbed his sleep.  I step back into the kitchen, open up the backdoor in hopes of driving it out there, and start looking for weapons.  A girl has to defend herself.  Everything I see is either too sharp and pointy or will severely damage the walls.  My only viable option: a baking sheet.  Yes, I am a walking stereotype.

Pictured: My sword and armor.

After a few practice swings I slowly creep towards my new best friend.  My best hope is to smash it with the baking sheet, but realistically I know its not going to sit still long enough.  Sure enough I was right and it flies away before my blow lands.  The battle is on.

There I am, a grown woman with a blanket around my neck and shoulders, swinging a baking sheet around the dining room trying to get a bat to swoop out the back.  In my pajamas, no less.  But I figure that if saving the world in PJs is good enough for Arthur Dent and The Doctor, they're good enough to save The Guv'nah in.

The bat swoops around the dinning room a few times and then lands back in the kitchen.  One step closer.  I swat at it again and raise my baking sheet like a sad, sad little shield.  It swoops around the kitchen once, twice, thrice.  And then out the back door.  I rush forward, slam the door, and lock it for good measure.  

Way easier than I though it'd be.  Kind of anti-climatic really.  But hey, no trip to the hospital for a rabies shot.  So that's a plus.

So fly away, little bat, and tell all your disease-ridden batty friends that no bat is welcome in The Guv'nah.  Well, unless he looks like Christian Bale. 

Saturday, April 14, 2012

Seared Scallops with Asian Inspired Spicy Orange Sauce

Scallops.  Who doesn't like scallops?  People who have never tried scallops.  For someone who rarely makes seafood, or at least nothing more than baked fish, this was a surprisingly easy recipe.  And quick.  Scallops and sauce were done in under 10 minutes.

I apologize for the lack of pictures.  I just plain forgot to take some!  But you'll do fine without.

You will need:

1 pound sea scallops (about 15-18)
Ground pepper
Sesame oil

Sauce:
2 tsp minced ginger
1 tsp minced garlic
1/2 deseeded chilli pepper, mince OR 1/4 tsp red pepper flakes
1/3 cup orange juice
1 tablespoon soy sauce
1/2 teaspoon orange zest
1/2 teaspoon orange extract or orange liqueur

Place the scallops on a paper towel and pat them dry.  This is an important step to help them sear properly.

In a large skillet or frying pan, heat enough sesame oil to coat the pan over a high heat.  Place scallops in a single layer in the pan and sprinkle generously with pepper.  Cook until golden brown and flip over; about two minutes per side.  Remove scallops from pan and set aside.

Using the pan you cooked the scallops in, saute the ginger and garlic over a medium heat for about a minute.  Add pepper, orange juice, soy sauce, zest, and extract to the pan.  Boil until sauce thickens, stirring often.  Takes about 3-5 minutes.

Serve sauce over the scallops.  Excellent with a side of garlic green beans.

~ The Pink One

Saturday, April 7, 2012

Chocolate Souffle

Souffle.  You always hear about how difficult they are to make in movies and shows.  So I've been a little hesitant to try one out.  But I found this recipe in one of The Yellow One's Williams-Sonoma cookbooks.  And they have yet to guide me wrong.

You will need:

8 oz. bittersweet or semisweet chocolate
6 eggs, separated
1/8 tsp salt
1/2 tsp cream of tartar
3/4 cup sugar, divided
1 1/2 tsp vanilla extract


Melt the chocolate in a double boiler and then set aside to cool slightly.

As you can see in the picture below, I do not have a double boiler.  All you really need a pot to boil water in and a heat-safe bowl to place on top. Ideally, you want the top bowl to rest above the water in the pot and on the rim of the pot so that there is no gap between pot and bowl.  Unfortunately, I did not have a metal or glass bowl that quite did the trick available to me that day, so I went with one that had handles to rest on the rim.  Brilliant, I know.

 Seen above: A Master's degree at work.

In a large, clean mixing bowl (cold and metal if you can manage it), beat the egg whites, salt, and cream of tartar vigorously with a whisk or with an electric mixer if you want to save your arm.  Beat until soft peaks form and then beat in 1/4 cup sugar.  Beat until stiff peaks form. Set aside.  


In another large mixing bowl, beat egg yolks, 1/2 cup sugar, and vanilla extract until smooth.  Fold in slightly cooled chocolate one spoonful at a time.  Make sure the chocolate has cooled a little and that you add it bit by bit. Otherwise, you will cook the eggs.  And it will be gross.

Once the chocolate is folded in, fold in 1/4 of the egg white mixture. Fold in until just blended.  This will lighten up the mixture and make it easier to fold in the rest of the whites without damaging the whites.


Fold the rest of the whites into the mixture.  Fold as gently as possible and stop as soon as the white streaks disappear.  

Close enough.

Pour into buttered ramekins.  This recipe is enough for one 1.5 qt ramekin or six 1 cup ramekins.  Bake in 375 F oven.  Bake for about 30 minutes for a large souffle; about 10 minutes for the smaller souffles.  When done the souffles will be puffed up and mostly set, jiggling a little in the center when moved.  

Before.

After.


Let cool for a few minutes then serve with whipped cream or vanilla ice cream. 


~ The Pink One 

Thursday, March 29, 2012

Quinoa Patties

We at the Guv'nah have recently gotten into quinoa. Quinoa is a healthy grain, a fairly blank slate as far as taste goes, and somewhat similar to rice.  As such, we have been trying to find new and interesting recipes to try.  There are several to come, but here is one we tried near the beginning of our quinoa experiments.

These patties can be eaten plain, with the provided sauce recipe, or on a bun with your favorite burger toppings.  If you don't like mayo-based sauces, there is an alternative way to make the patties near the bottom.

Here we go.

You will need:

Patties:
1 cup cooked, cooled quinoa (make about 1/2 cup uncooked)
1/2 cup grated or cubed cheese, one that melts well (we used half fontina and half parm the first time; cheddar was awesome too)
2 tablespoon all-purpose flour
2 green onions, chopped
1 egg
1 tsp. ground black pepper
pinch of salt

Sauce:
1/3 cup mayo
3-4 cloves garlic, minced
1 lemon, zest and juice
pinch of cayenne pepper, salt, and pepper

Best to make the sauce first.  In a small food processor or with a hand whisk, combine all the ingredients for the sauce until well blended.  Put in an air-tight container and store in the fridge.

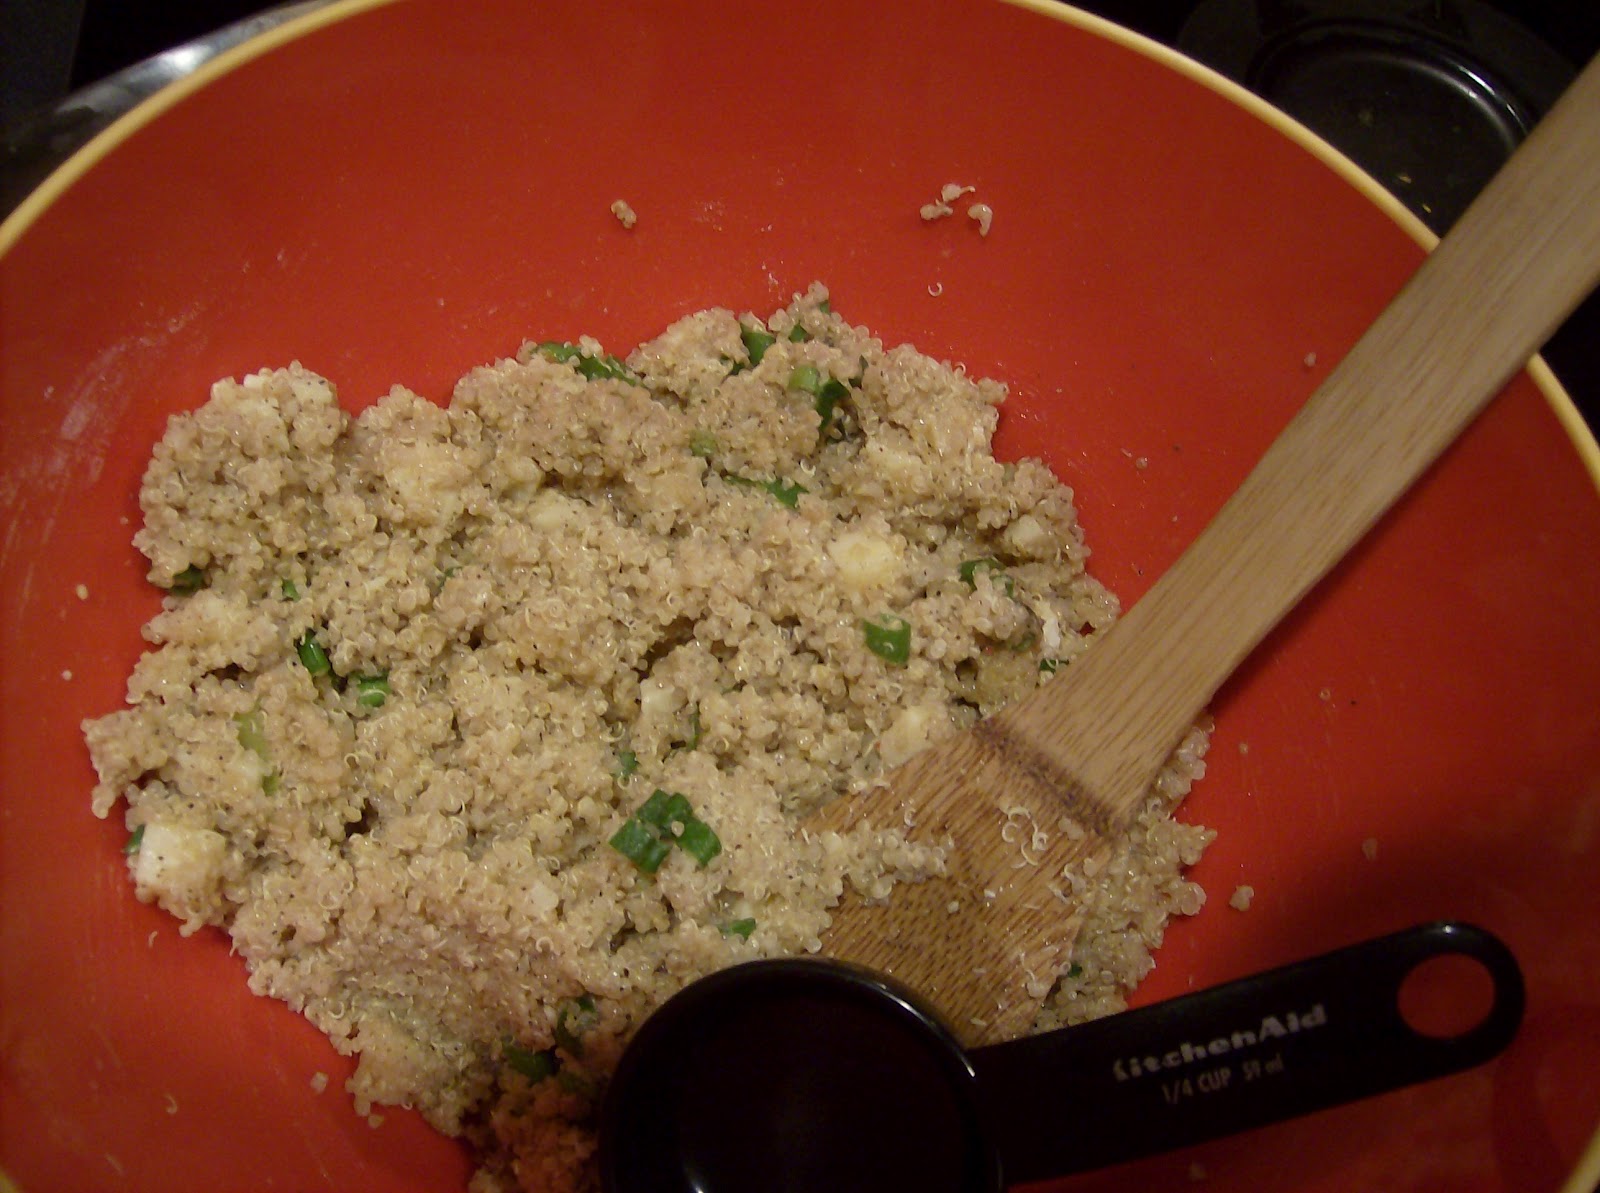
In a medium mixing bowl, combine quinoa, cheese, flour, and onion so that flour coats everything.  Stir in egg so that it too coats everything and binds the ingredients together.  Mix in salt and pepper.


In a large skillet or frying pan, heat a few teaspoons of olive oil over a medium heat.  Form patties from the quinoa mixture using about 1/4 cup at a time.  Try wetting your hands first to help keep the mixture from sticking.  Patties should be about half an inch in thickness and as flat as possible.  Place patties in the skillet in a flat layer.  You will probably have to work in batches.  Cook the patties on each side for about 4-5 minutes.


Serve hot with a smear of sauce and a side of something green.


Go even healthier: If you don't want a mayo-based sauce, I found this alternative a very tasty option.

Cook the quinoa with about a tablespoon of lemon juice.  Add the 3-4 cloves of minced garlic and cayenne pepper to the patty mixture.  Serve plain or with a bit of parmesan cheese on top.

~ The Pink One