Thursday, March 29, 2012

Quinoa Patties

We at the Guv'nah have recently gotten into quinoa. Quinoa is a healthy grain, a fairly blank slate as far as taste goes, and somewhat similar to rice.  As such, we have been trying to find new and interesting recipes to try.  There are several to come, but here is one we tried near the beginning of our quinoa experiments.

These patties can be eaten plain, with the provided sauce recipe, or on a bun with your favorite burger toppings.  If you don't like mayo-based sauces, there is an alternative way to make the patties near the bottom.

Here we go.

You will need:

Patties:
1 cup cooked, cooled quinoa (make about 1/2 cup uncooked)
1/2 cup grated or cubed cheese, one that melts well (we used half fontina and half parm the first time; cheddar was awesome too)
2 tablespoon all-purpose flour
2 green onions, chopped
1 egg
1 tsp. ground black pepper
pinch of salt

Sauce:
1/3 cup mayo
3-4 cloves garlic, minced
1 lemon, zest and juice
pinch of cayenne pepper, salt, and pepper

Best to make the sauce first.  In a small food processor or with a hand whisk, combine all the ingredients for the sauce until well blended.  Put in an air-tight container and store in the fridge.

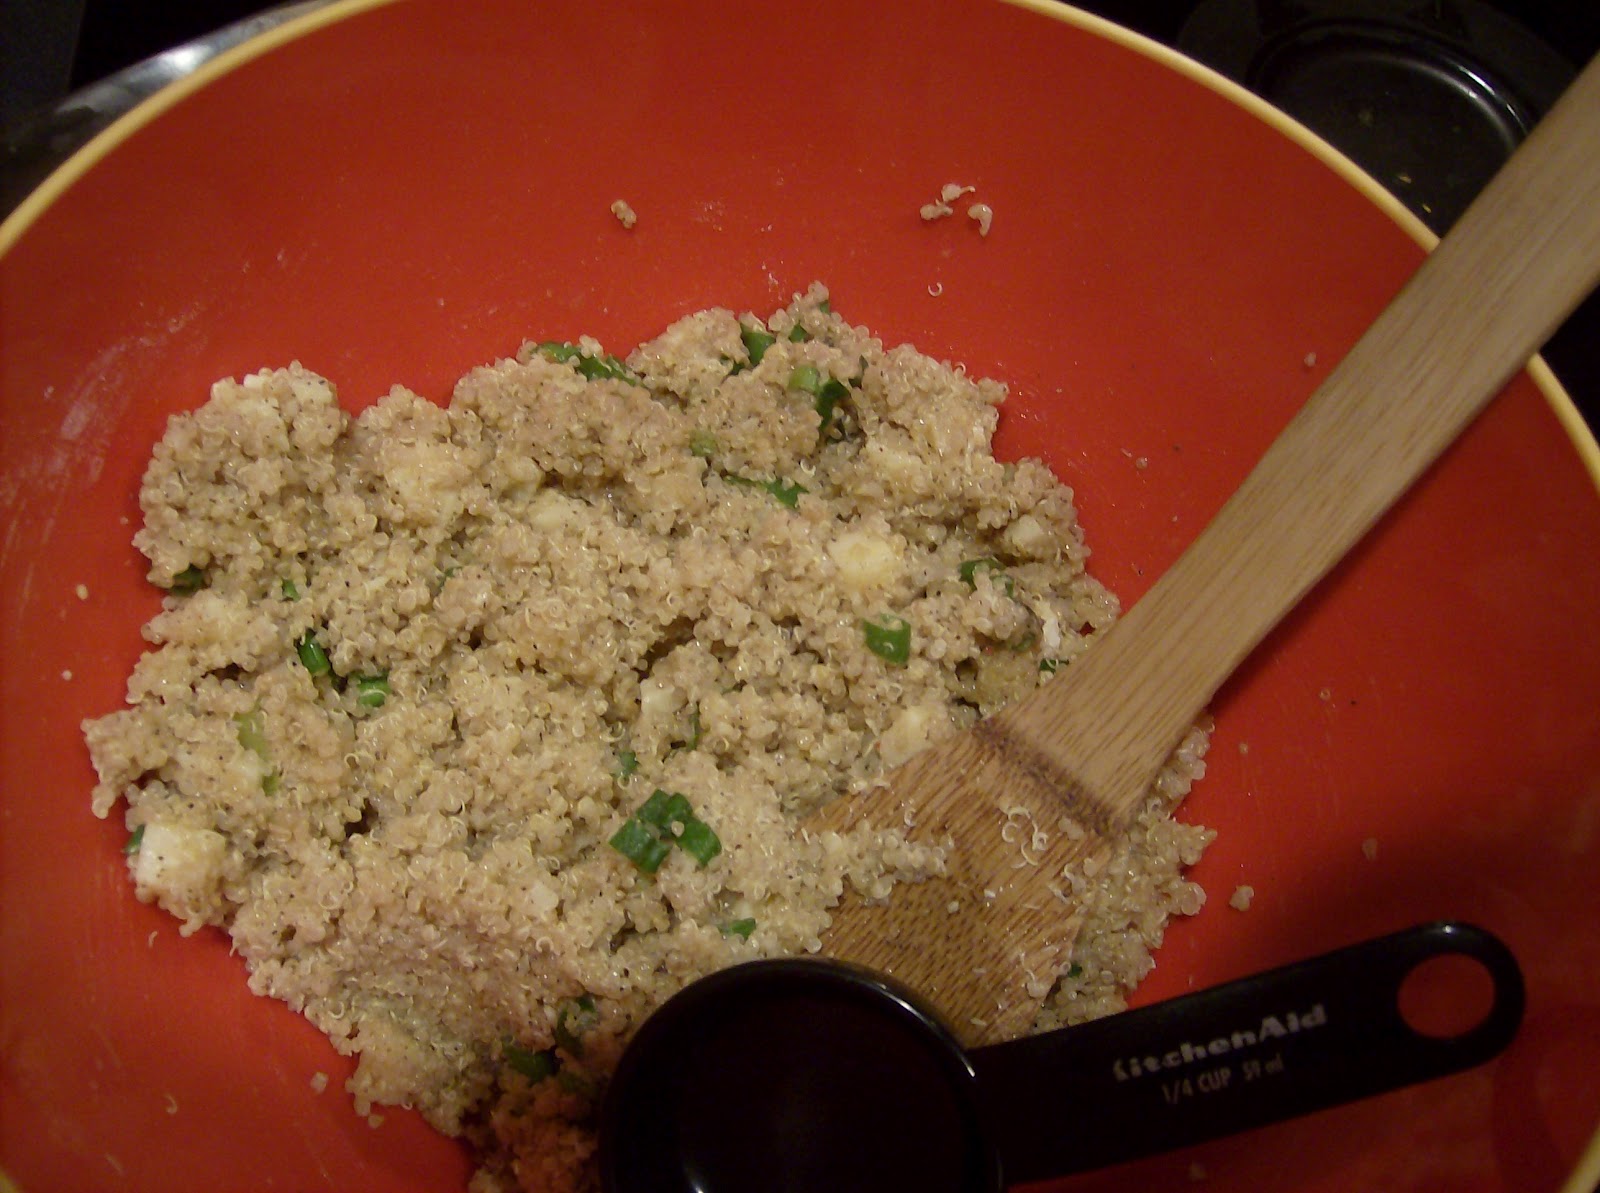
In a medium mixing bowl, combine quinoa, cheese, flour, and onion so that flour coats everything.  Stir in egg so that it too coats everything and binds the ingredients together.  Mix in salt and pepper.


In a large skillet or frying pan, heat a few teaspoons of olive oil over a medium heat.  Form patties from the quinoa mixture using about 1/4 cup at a time.  Try wetting your hands first to help keep the mixture from sticking.  Patties should be about half an inch in thickness and as flat as possible.  Place patties in the skillet in a flat layer.  You will probably have to work in batches.  Cook the patties on each side for about 4-5 minutes.


Serve hot with a smear of sauce and a side of something green.


Go even healthier: If you don't want a mayo-based sauce, I found this alternative a very tasty option.

Cook the quinoa with about a tablespoon of lemon juice.  Add the 3-4 cloves of minced garlic and cayenne pepper to the patty mixture.  Serve plain or with a bit of parmesan cheese on top.

~ The Pink One

Sunday, March 25, 2012

Tandoori Chicken

This is definitely one of my all-time favorite chicken recipes.  Tandoori chicken is delicious hot and fresh from the oven or cold from the fridge.  It's good as the primary protein in a meal, as an appetizer or hors d'oeuvre, or as a salad topper.  Basically, you can't go wrong with this.  


Best cold lunch ever.  Tandoori chicken, spinach and/or romaine, and a little parmesan cheese.


You will need:


3-4 large skinless, boneless chick breasts, cut into pinky-sized stips
1/2 cup Greek yogurt
3 tablespoons Tandoori seasoning (I have used Urban Accents and Penzey's with good results)
4 tablespoons lemon juice
3 tablespoons olive oil
1-2 cloves minced garlic
1/2 tsp ground pepper
pinch of salt


In a medium bowl, mix together yogurt, tandoori seasoning, lemon juice, oil, garlic, pepper, and salt.  Stir in chicken so that all pieces are well coated.  Allow to marinate, covered and in the fridge, for least one hour, but for several hours or overnight is best.


Once the marination process is complete, pre-heat the oven to 400 F.  Well-grease a baking pan or cookie sheet, or cover in parchment paper.  Lay out strips of chicken in a single layer on the pan, keeping as much of the marinade on the chicken as possible.

Touching raw chicken feels so gross, but the end product is worth it.  Trust me.

Place in over for about 15 minutes, flipping the pieces over about half-way through the time.  Remove from oven.

That's it!  Allow to cool slightly if you want them hot.  Keep in an air-tight container in the fridge if you want them cold. They should stay good for about 4-5 days.

~ The Pink One

Wednesday, March 21, 2012

Mini Cheesecakes

I got this recipe from my good friend Michelle, author of the Earning Your Apron blog.  Michelle has been running this wonderful blog for years, and it's full of wonderful, unique, and (mostly) healthy ideas.  When you have a chance, I highly recommend you browse through her posts.

Her pictures look tastier, too.

Now, to business.  I altered the recipe slightly, but not by much.  These mini cheesecakes are a perfectly proportioned after-dinner treat.  There is also the added benefit of individualizing your cheesecakes to your guests preference.  You can leave them plain or incorporate chocolate, nuts, or fruit to the filling.  We added chopped up Snickers bars to one of ours.  Make several different kinds and have a tasting party.  Or try flavors you aren't sure about and don't want to risk a whole cake on.  Just have fun with it!

You will need:

Crust:
1 cup graham cracker crumbs
1/4 cup butter, melted
1/4 cup sugar

Filling:
1 8 oz package cream cheese, softened to room temperature
3 tsp. vanilla extract
1/4 cup sugar
2 egg whites
1/4 cup sour cream
Chopped chocolate candies (optional)
Caramel or chocolate sauce (optional)
Fruit pie filling (optional)

Fresh fruit for topping (optional)

For the crust, combine graham cracker crumbs, butter, and sugar in a small bowl.  Divide mixture among ramekins, packing down to create a crust. You must decide how many ramekins to use based on the size(s) you have available in proportion to the amount of filling made (approximately 2 cups). Alternatively, if you do not wish to make individual cheesecakes, pack mixture on the bottom of a well-greased small glass baking dish or a spring-form pan.  If you use a larger baking vessel, you may want to double the recipe.   Set baking vessels aside.

For the filling, beat cream cheese, sugar, and vanilla extract in a large mixing bowl. Then beat in egg whites one at a time, making sure they are mixed in well.  Add sour cream and mix until mixture is creamy and smooth.  There should be no lumps!

Divide the filling among the baking vessels.  Now is also the time to add fruit, chocolate, or nut fillings if so desired.  Before adding the cheesecake filling, add a layer of your optional filling of choice on top of the crust.  Then pour in cheesecake filling.  Fill until about 1 cm below the rim.

A layer of Snickers.  Mmmmm.

In a pre-heated 350 F oven, bake the cheesecakes until the center is nearly set.  Smaller ramekins will need about 20 minutes.  Larger ramekins will need about 25 minutes.  Full cheesecakes will need about 30-40 minutes, depending on how large the pan is.  Once center is almost set, turn off the over but leave the cheesecakes in the oven with the door cracked open for another 10-15 minutes.

When using small, round, or difficult to grip baking vessels, I like placing them on an baking pan for easier handling. 

Remove from oven and refrigerate for at least one hour of mini cheesecakes; two hours for full cheesecakes.

Top with your favorite toppings and share with friends.

~ The Pink One

Thursday, March 15, 2012

Rogan Josh

Hello, everyone. Sorry about the long time between posts.  It has been a very busy semester.  While we continue to cook up a storm at the Guv'nah, time to compose posts has been limited.  We are currently on spring break and in between margaritas we are catching up on posts.  And we return with a wonderful Indian delight, rogan josh.

Rogan josh is a hearty dish I often enjoyed in my time abroad, but rarely get to have Stateside.  Lamb is not a popular protein in my area and I never see it at the grocery store. In fact, for this recipe I had to use ground lamb instead of leg of lamb.  But, if you can find the ingredients this is an excellent and unique dish to serve your friends.

You will need:

1 large onion, chopped (whatever kind looks good at the market)
1 tsp minced ginger
2 tsp minced garlic
2 tsp salt
1 tsp tumeric
4 tsp garam masala
1 tsp ground coriander
3 tsp ground cumin
1 tsp chili powder
1 pound lamb (chunked preferred, but ground is fine)
3-4 medium tomatoes, pureed
1/4 cup plain or Greek yogurt
Vegetable oil

In a large pot, pour a few teaspoons of vegetable oil.  Over a medium-high heat, saute the onions until they begin to soften, stirring to keep them from burning.  Add garlic and ginger and continue to saute and stir for a few minutes more.  Add salt, tumeric, garam masala, coriander, cumin, and chili powder, continuing to cook for a few more minutes.  At this point, you should have a brown mess in your pot.  Add the lamb to the pot and continue to stir.

Now you should have a pink and brown mess.

Continue to cook on medium-high heat until lamb is browned; about 3-4 minutes if its ground lamb or 5-6 minutes for chunks.  Add tomatoes and let everything cook together for about 10 minutes to allow everything to sort of stew.  Stir occasionally.  Stir in the yogurt and let cook for a few more minutes on a high heat.  Then reduce the hob to the lowest heat setting and put a lid on the pot.  Let simmer for one hour, stirring very occasionally.  It should then look something like this:

At this point, I wish you had smell-o-vision.

Serve with naan, chipatis, or rice.  Try rice made with fresh chopped coriander.  Keep any leftovers in an air-tight container in the fridge.  Should be good for a week or so.

~ The Pink One